color approach
It’s that easy
© Shutterstock/puhhha
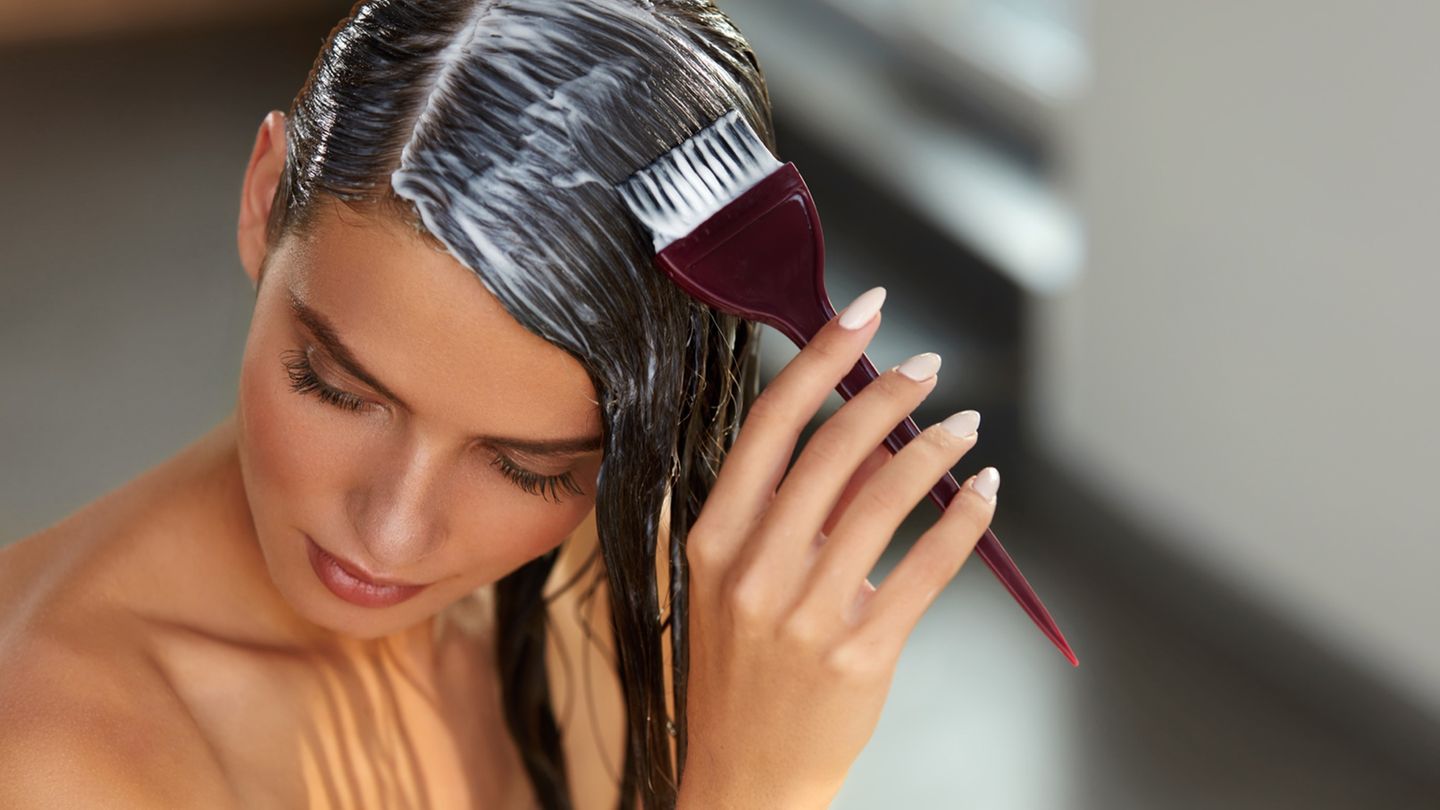
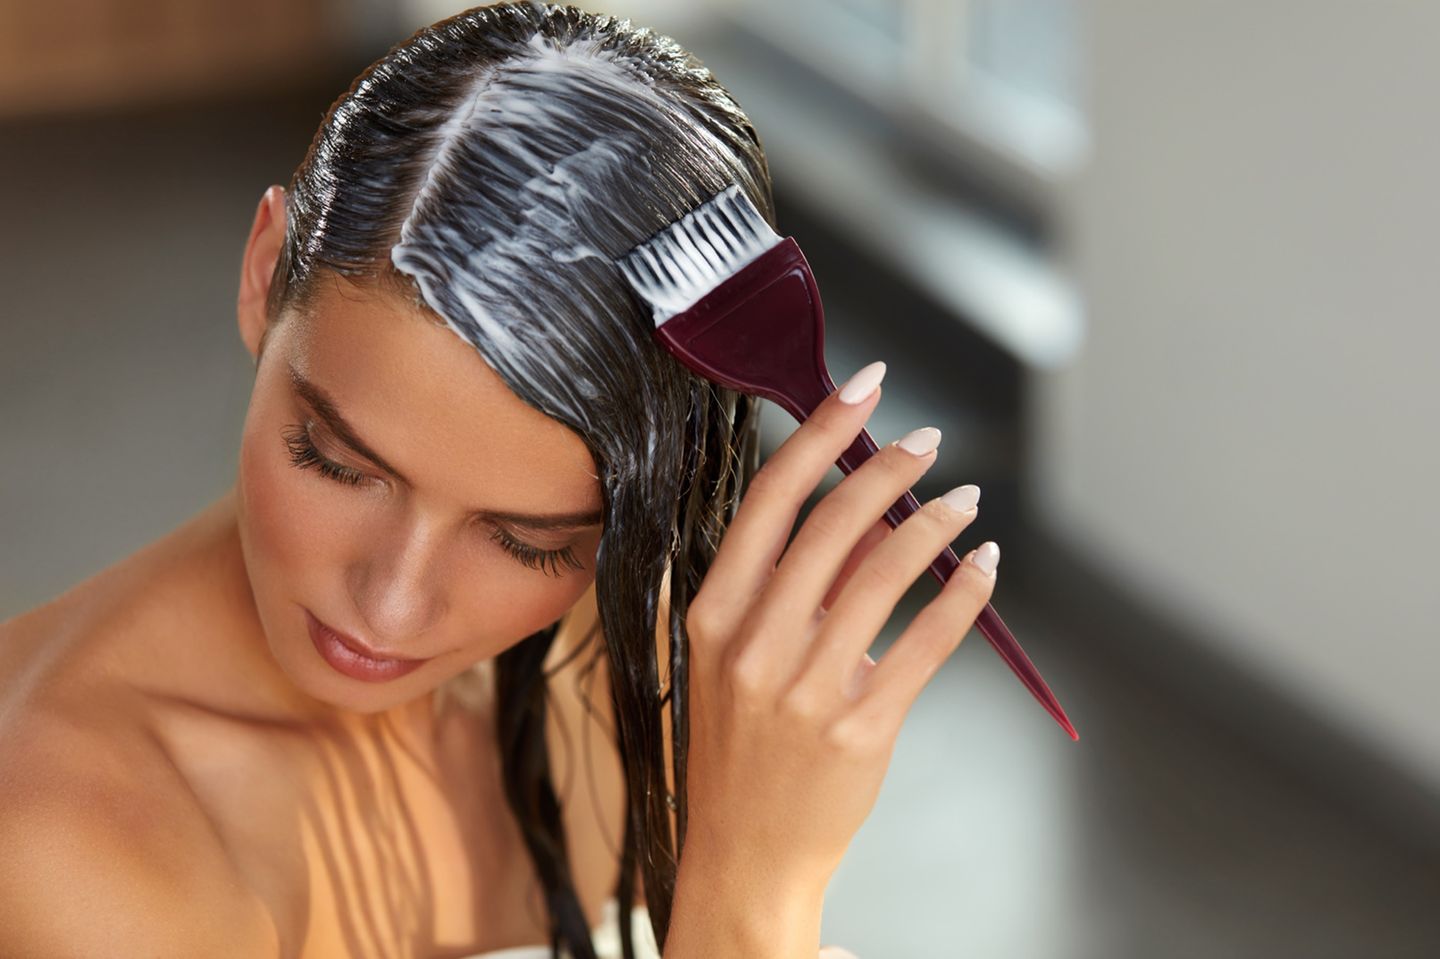
A few weeks after coloring your hair, it takes over: the hairline. We’ll show you how you can easily dye your roots yourself at home.
You already have dyed hair and now this is slowly but surely growing terrible hairline out of here and the Natural hair color or gray hair will show through? No problem! We’ll show you how you can easily dye and conceal your hairline yourself and in your own four walls. And best of all, it’s not as difficult as you might think!
Root dye: tint or dye?
In contrast to the tint, which only lasts about six to eight washes, the color contains larger color pigments, which are usually introduced into the hair with the help of ammonia. Hairstylists differ as to whether a dye has caring or damaging properties.
The solution is simple: It all depends on the color. Many of the new products come whole without aggressive ammonia out of. In addition, the introduction of new color pigments can give heavily damaged hair new structure and strength. Caring dyes like Olaplex have also been a big dyeing trend for a few years. In any case, you should take special care of your dyed hair. Because a hair color is only as beautiful as the hair is healthy!
And if you don’t have time to dye your hair at all, then colored powder, which is applied to the roots like an eye shadow, conceals the nasty roots for a short time.
Step 1: Divide into areas
© Alena Zielinski
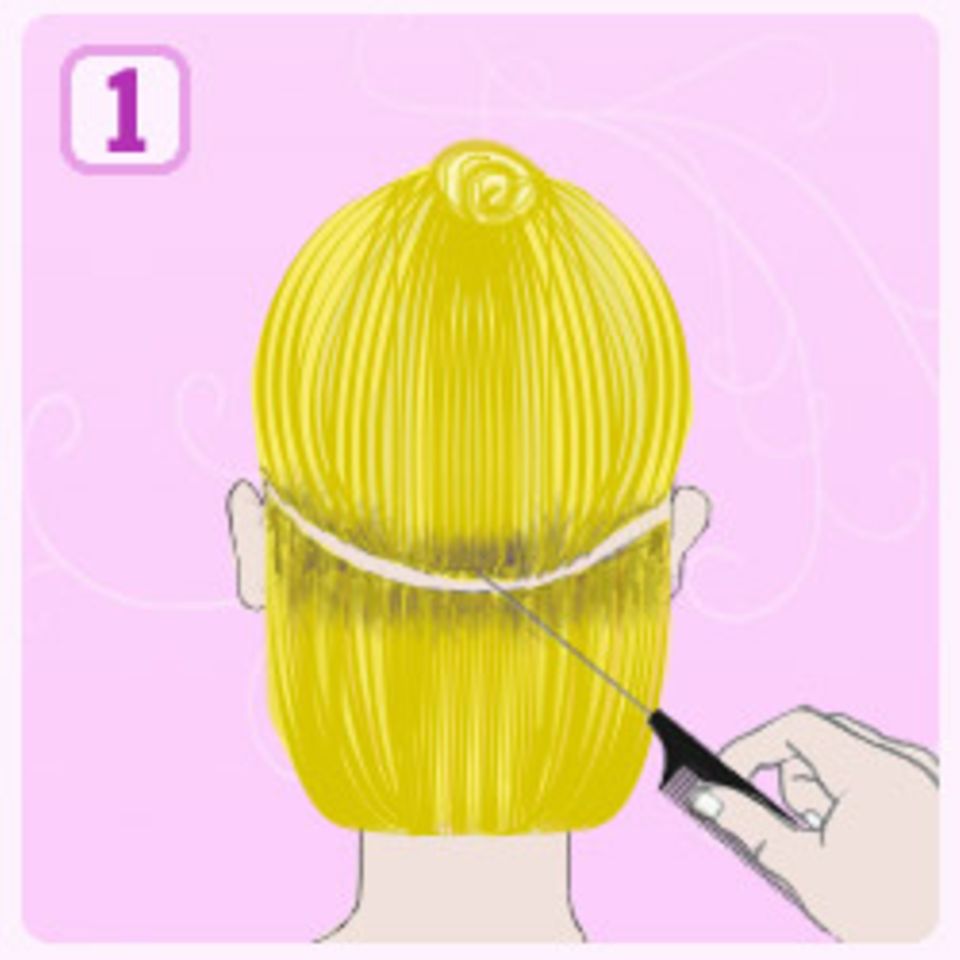
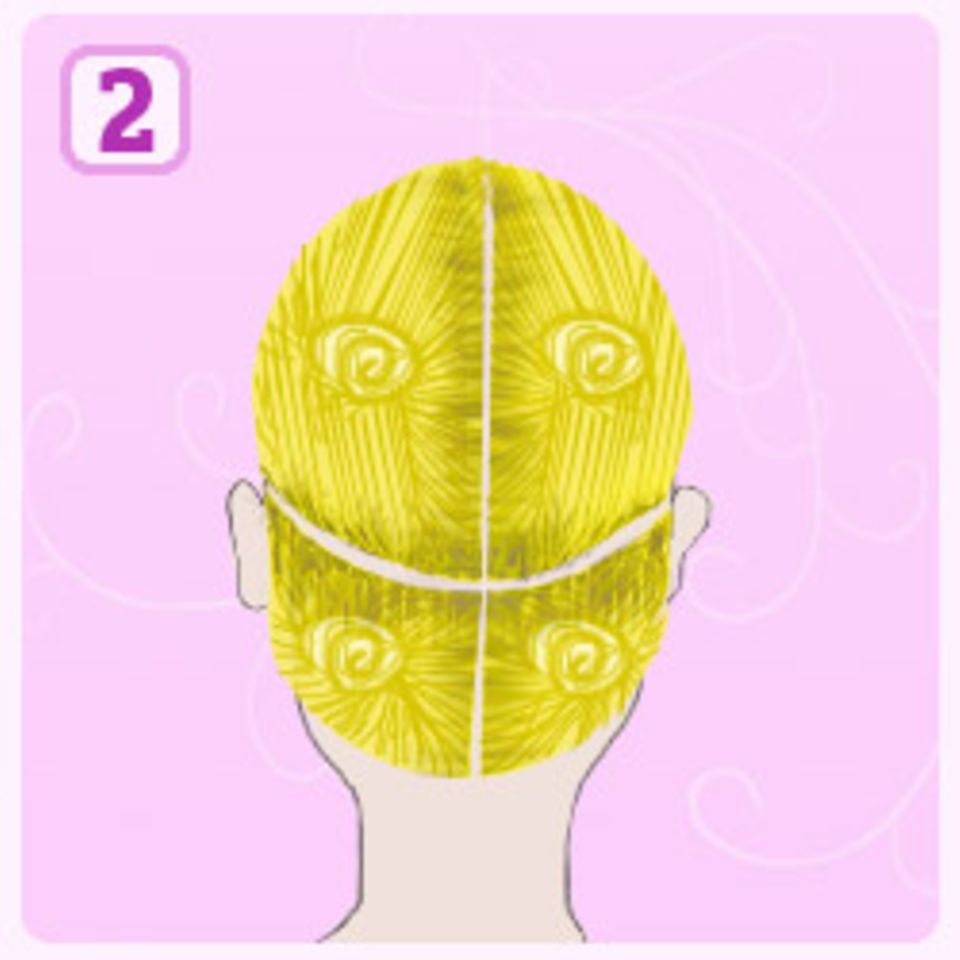
Before coloring your hair, first divide your hair into four sections. With a tail comb you draw one first horizontal line at the back of the head from one ear to the other. Now this lower area with a vertical line part down to the nape of the neck so that there are two sections of hair of the same size at the back of the head. stuck. Divide the hair on the top of the head into two roughly equal sections with an extended center parting.
Our tip: It’s much easier with two people! Your best friend is bound to have the time and inclination to help and re-dye. In addition, you should only lighten your hair at home by one or two shades or dye it darker than the natural hair color. When coloring the roots, make sure that you hit a tone that is very similar to the shade in your tips. Already dyed your hair at home? Make a note of the brand and color of the product you used and dye the roots again with that product. Important: All more drastic changes as well as the hair color trend balayage should be done by a professional!
Step 2: Begin at the back of the head and at the bottom
© Alena Zielinski
Put on the gloves and mix the hair color according to the instructions. Also when dyeing the roots always start at the back of the head. The hair on the top of the head is much more stressed by various environmental influences and by the sun and therefore always takes on the color much faster than on the back of the head. Nevertheless, you should make sure that you paint the color quickly and yet carefully apply and dye the roots quickly. With very different exposure times, the result quickly becomes blotchy and looks unprofessional. It is best to set a kitchen alarm clock for exact timing.
Step 3: Cover the roots completely with colour
© Alena Zielinski
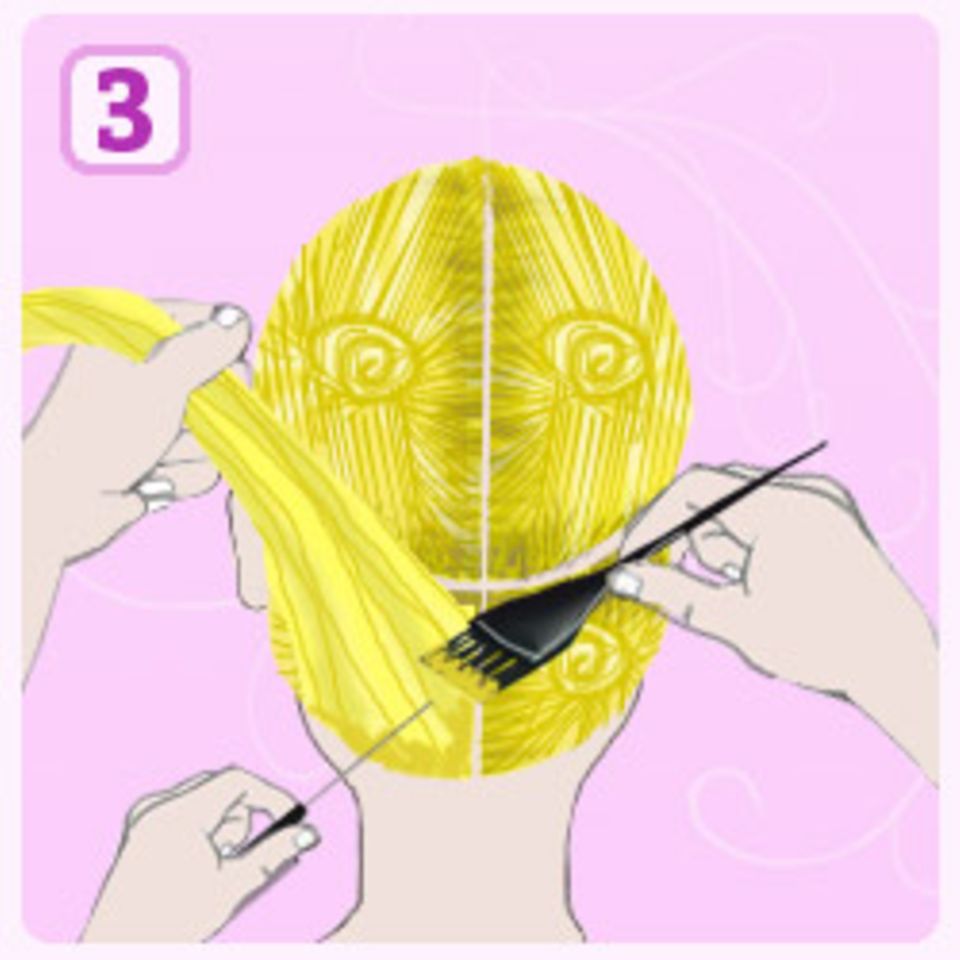
Now take the lower left section of hair that you separated earlier, comb it smooth and pull it up a little at the tips to create a smooth surface. Here below you start applying the color to the roots. It is important that the hairline is completely covered with color. There shouldn’t be a spot on the scalp without color showing. You should also make sure that you only dye the roots as far as they have grown out. However, the color may already be applied a few millimeters to the already colored hair. This will ensure that the result evenly becomes.
Step 4: Work from back to front!
© Alena Zielinski
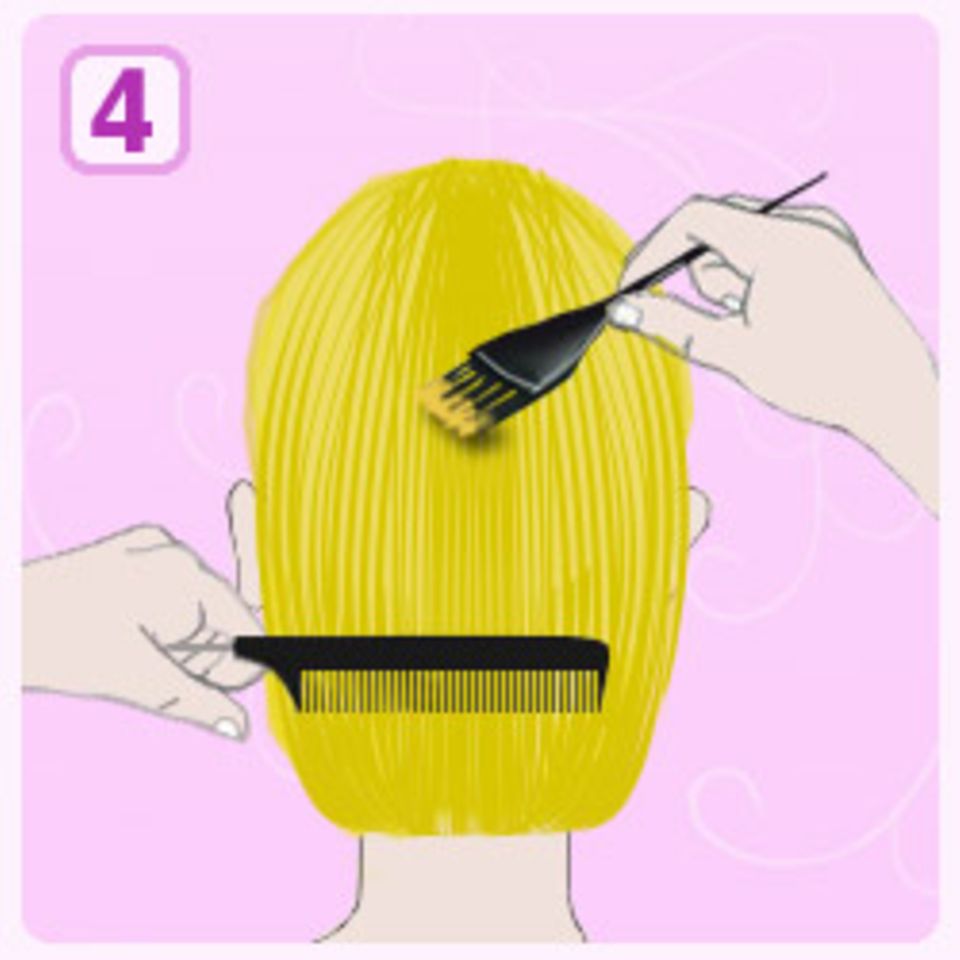
If you have now colored the lower roots of the hair, you draw another line with a tail comb, about an inch from your hairline at the nape of your neck. Here, too, you coat the roots of the hair with color, both upwards and downwards. Again you divide at a distance of about one centimeter and paint the approach with color. As said, your scalp should be covered with paint with millimeter precision, then you have properly parted your hair. Do this until you have colored the first of the four sections of hair. Then you turn to the second section at the back of the head and start dyeing the roots again from the back to the front.
When this section is also finished, you gradually devote yourself to the front sections. Finally brush the hairline on the forehead and neck again so that it is covered with color all over. After all, the color should look even, even if you put your hair in a braid. Be sure to save the rest of the dye! Now you let the coloring work according to the exposure time on the pack. A kitchen timer will help you with the timing.
Our tip for an even better result: After the exposure time has elapsed, distribute the remainder of the dye throughout the hair and comb through the hair with a fine comb from roots to ends. Leave on for two to five minutes and rinse off. This ensures that the lengths and ends of your hair also get the new color to prevent blotching and unevenness and to completely cover gray hair.
